Sebastian Masuda

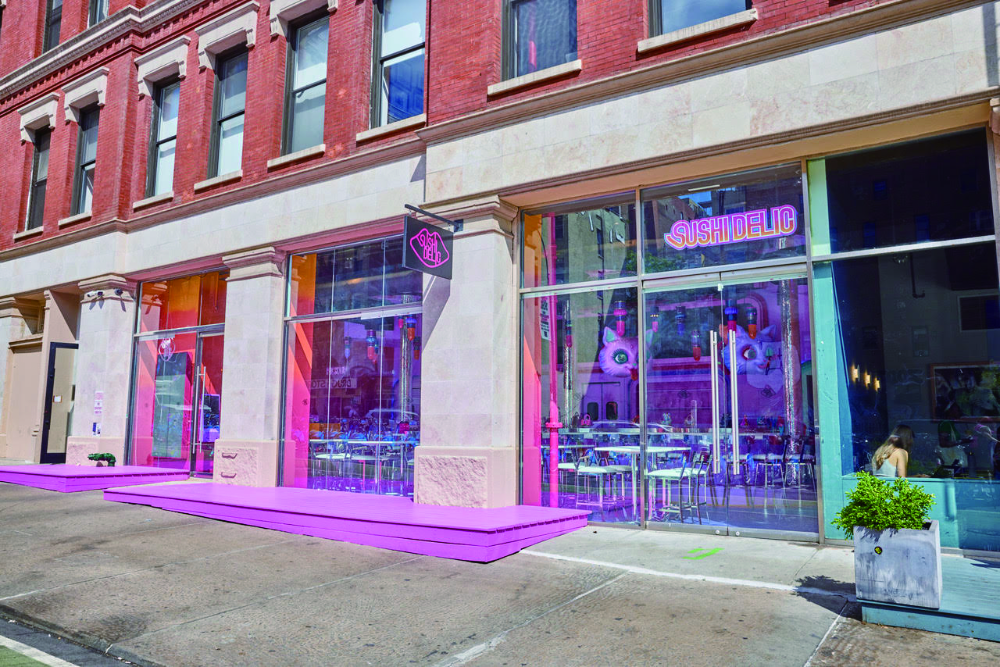
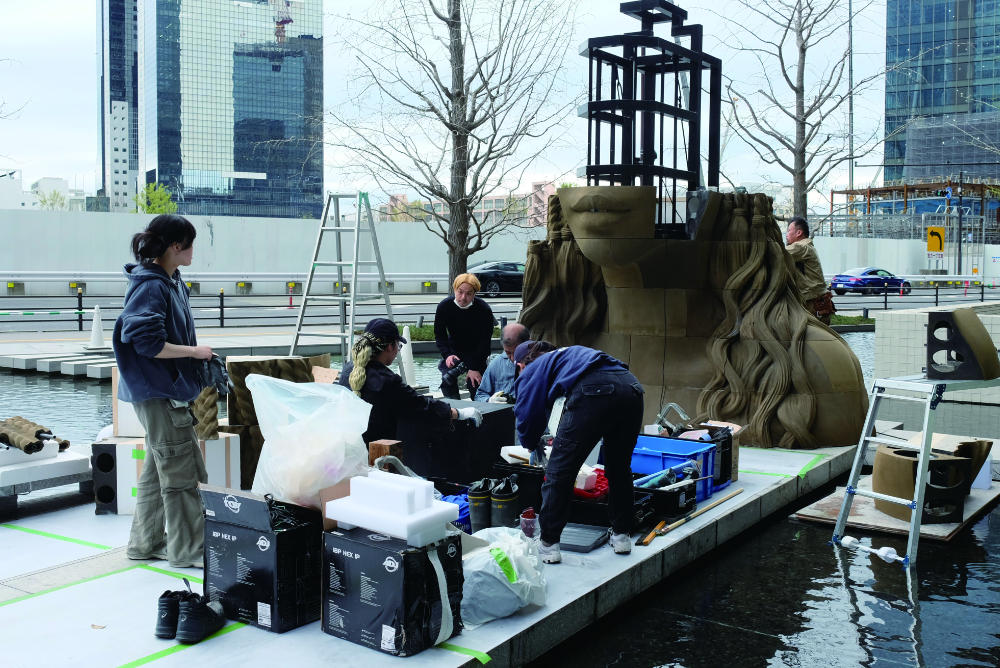
Through an introduction from a senior colleague, We had the opportunity to help with the store decorations produced by artist Sebastian Masuda.

We have also had experiences in the past where products we exhibited in Japan were taken overseas. In many cases, it is not acceptable to disclose such information on websites, etc., but this time we will introduce it with the consent of the artist himself.

For projects that cannot be published on the website, you can view them by contacting us. Please feel free to contact us.

The location is New York, so far away that you can’t say, “I’m going to go do some repairs.” This was the first time for us to have a project that was unveiled overseas from the beginning.

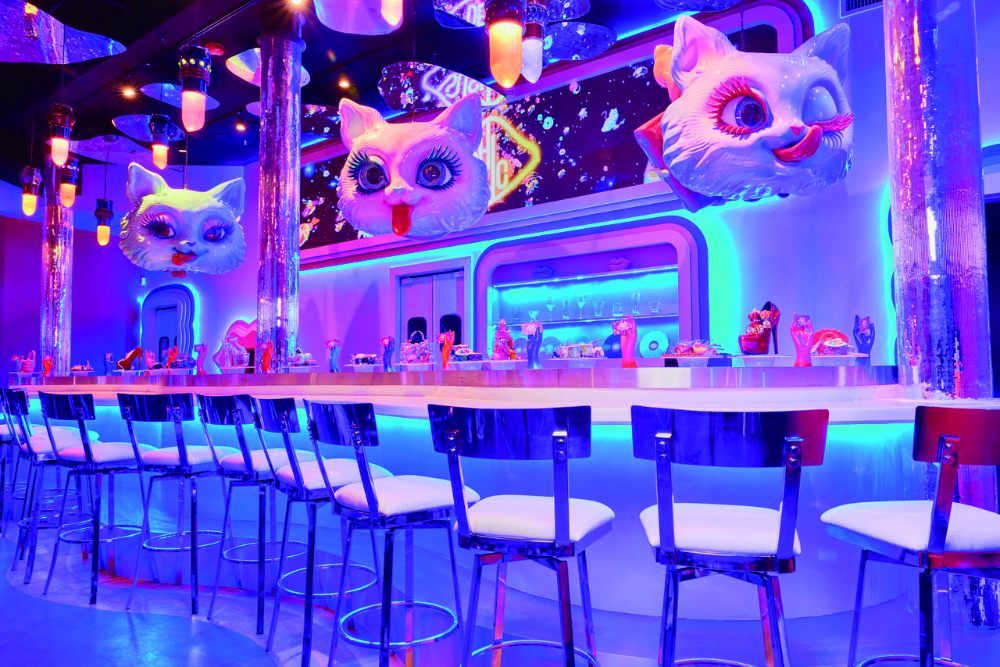
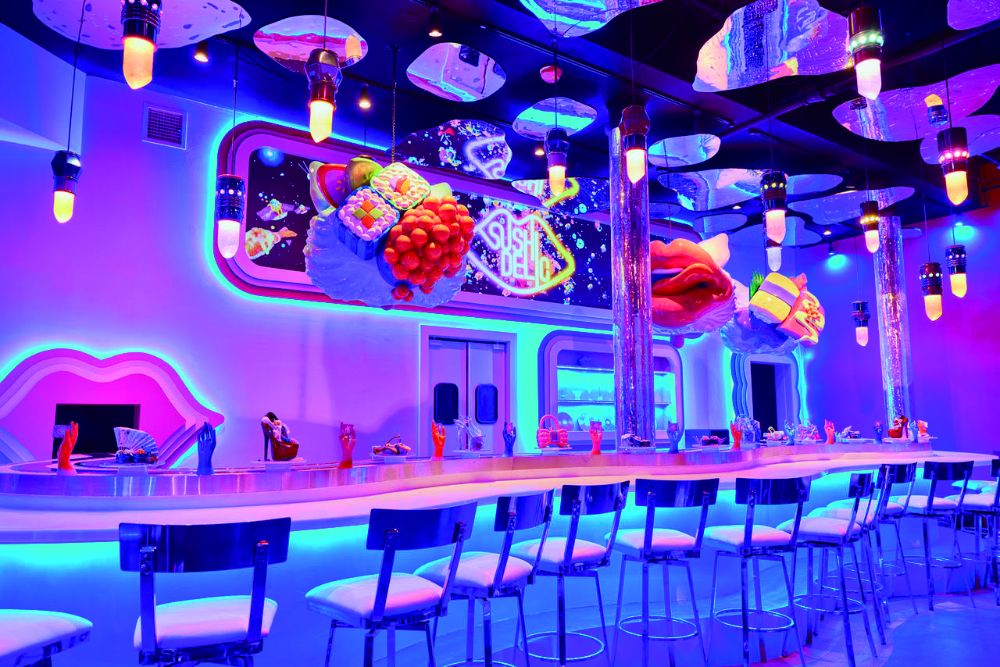
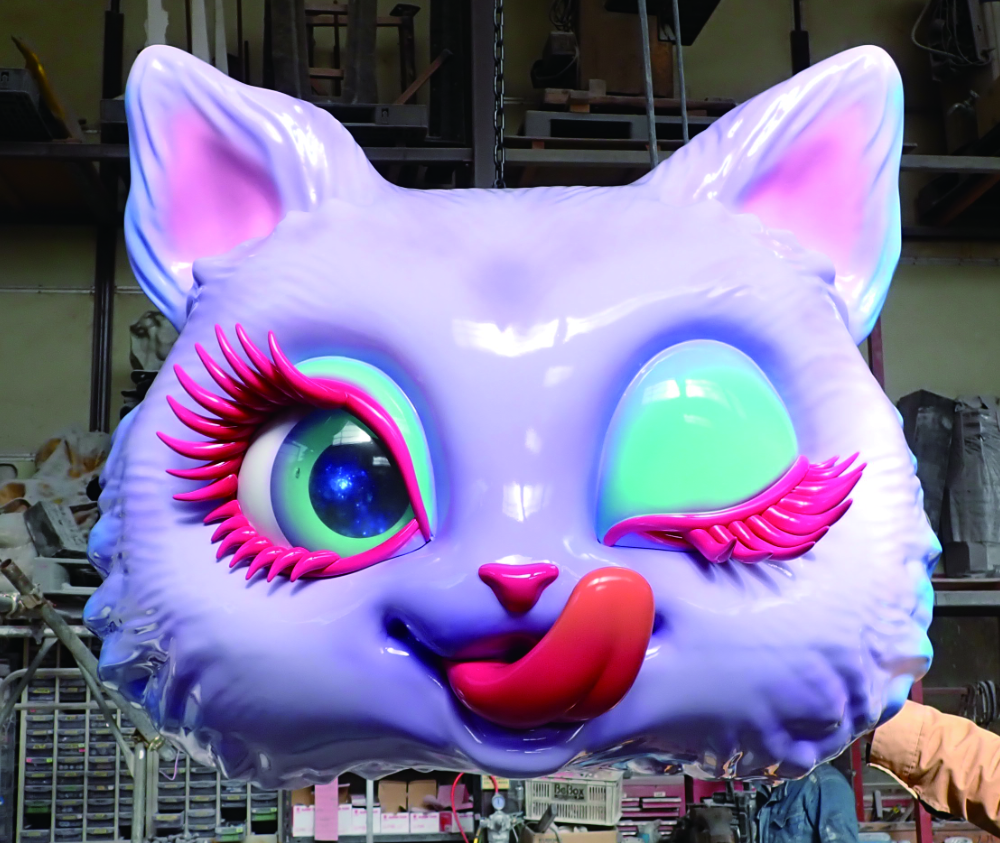
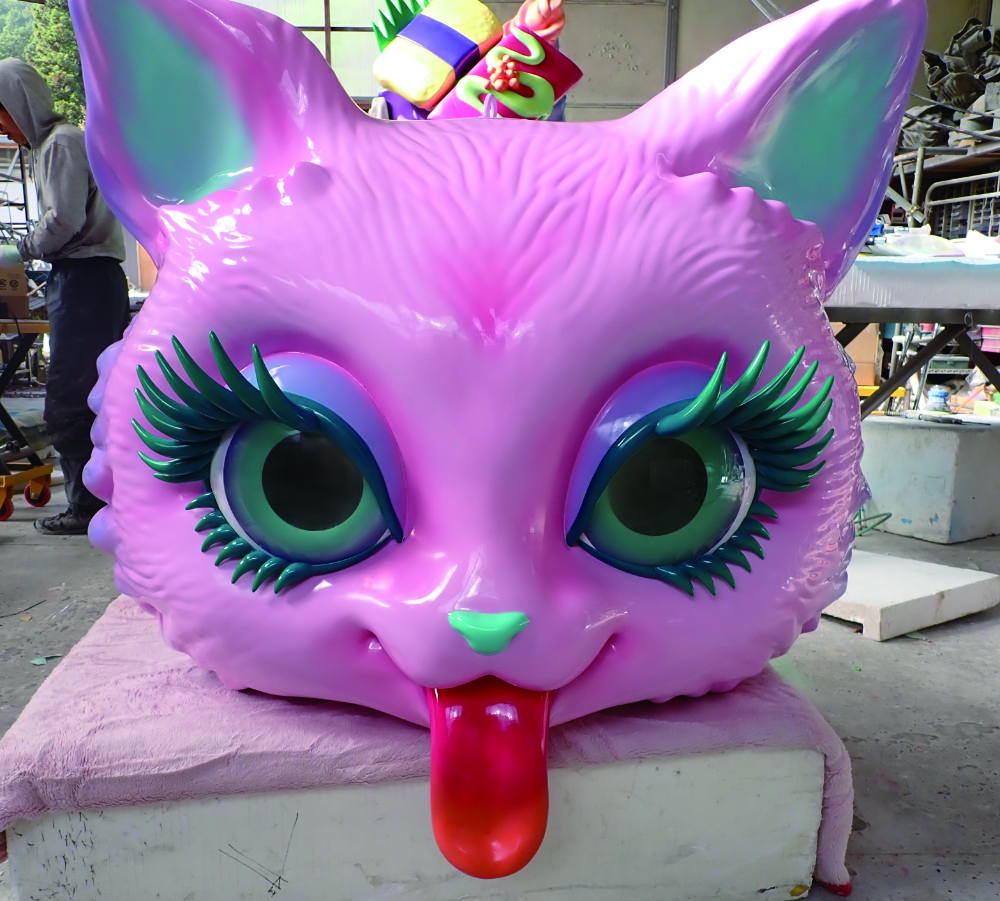
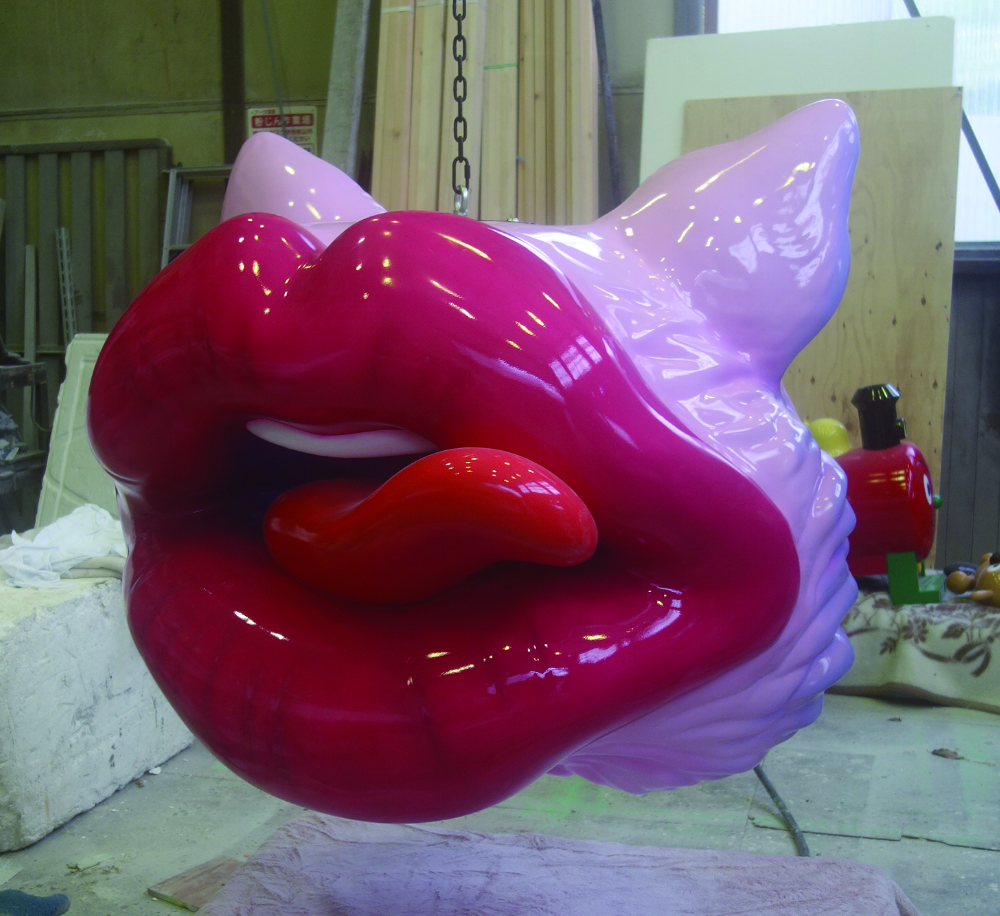
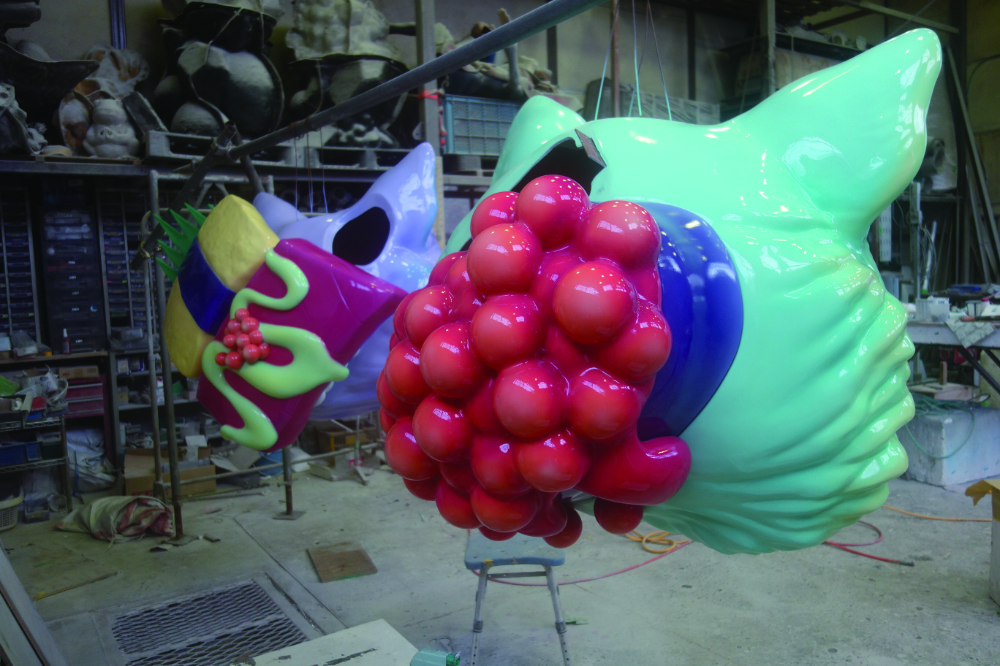
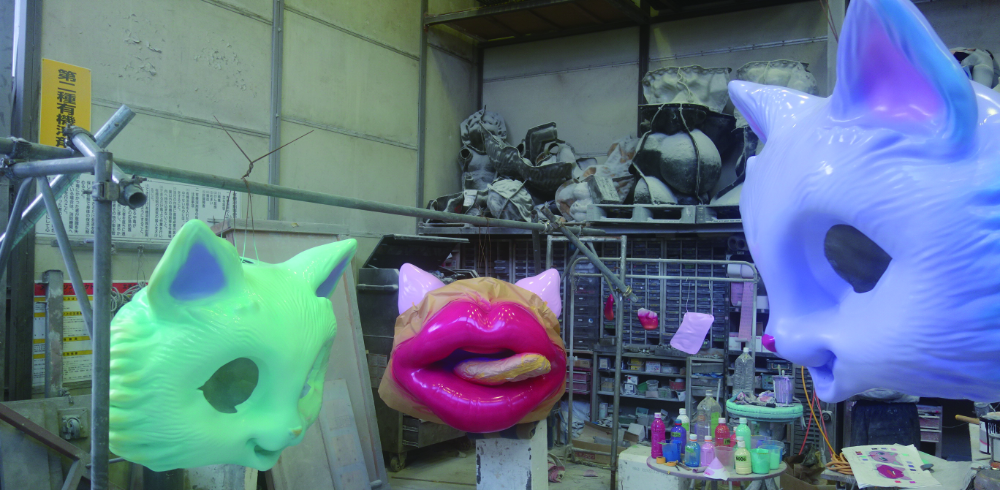
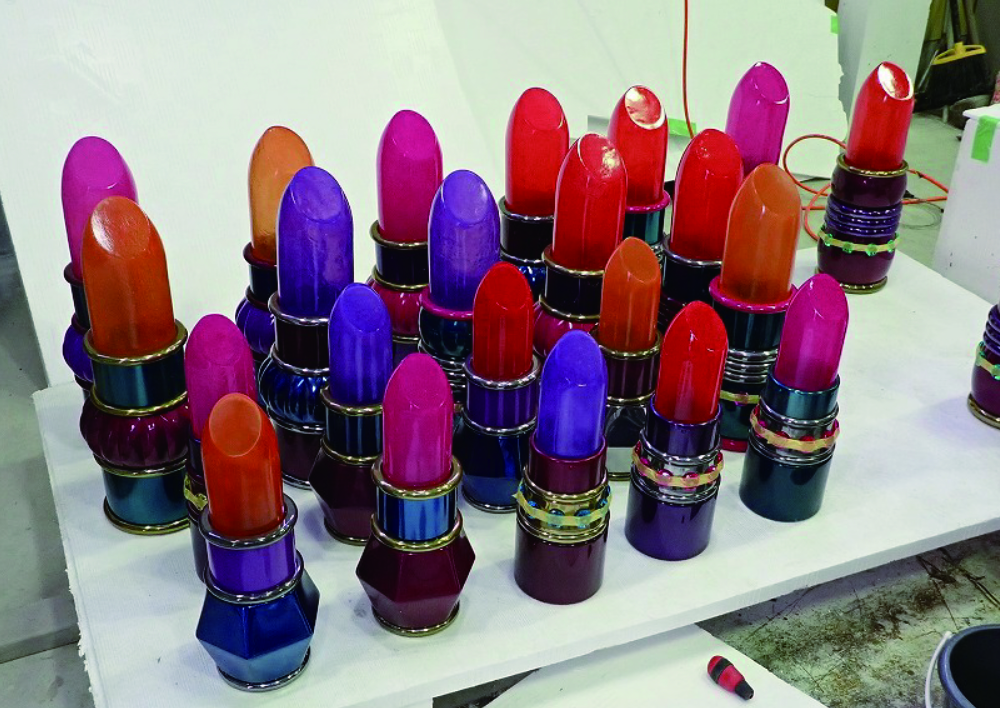
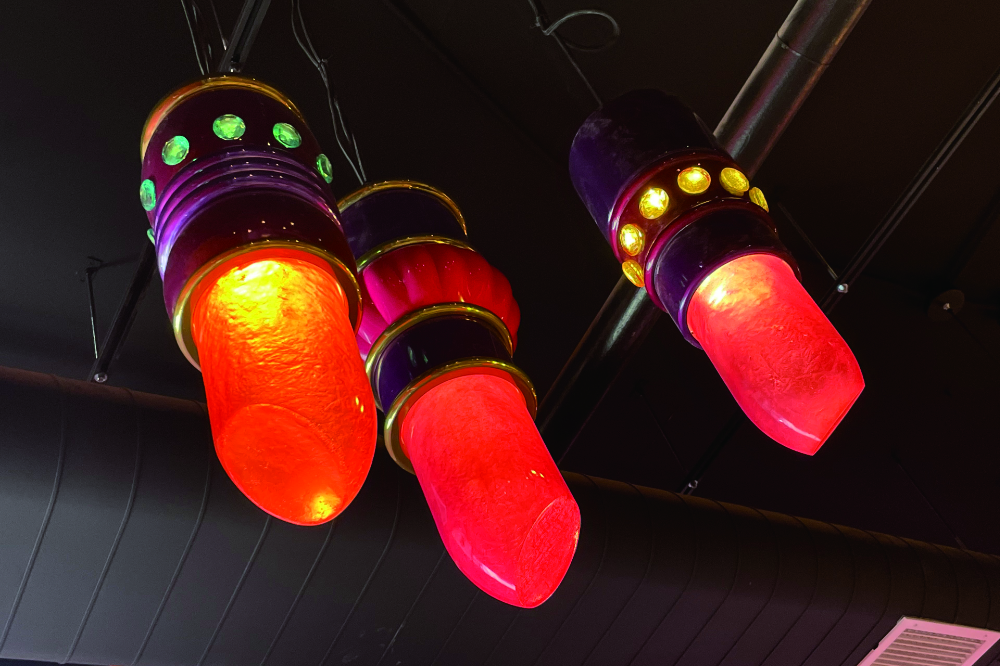
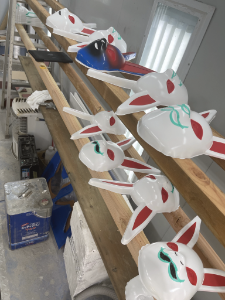
We made light fixtures in the shape of three cats and lipstick that hang from the ceiling.
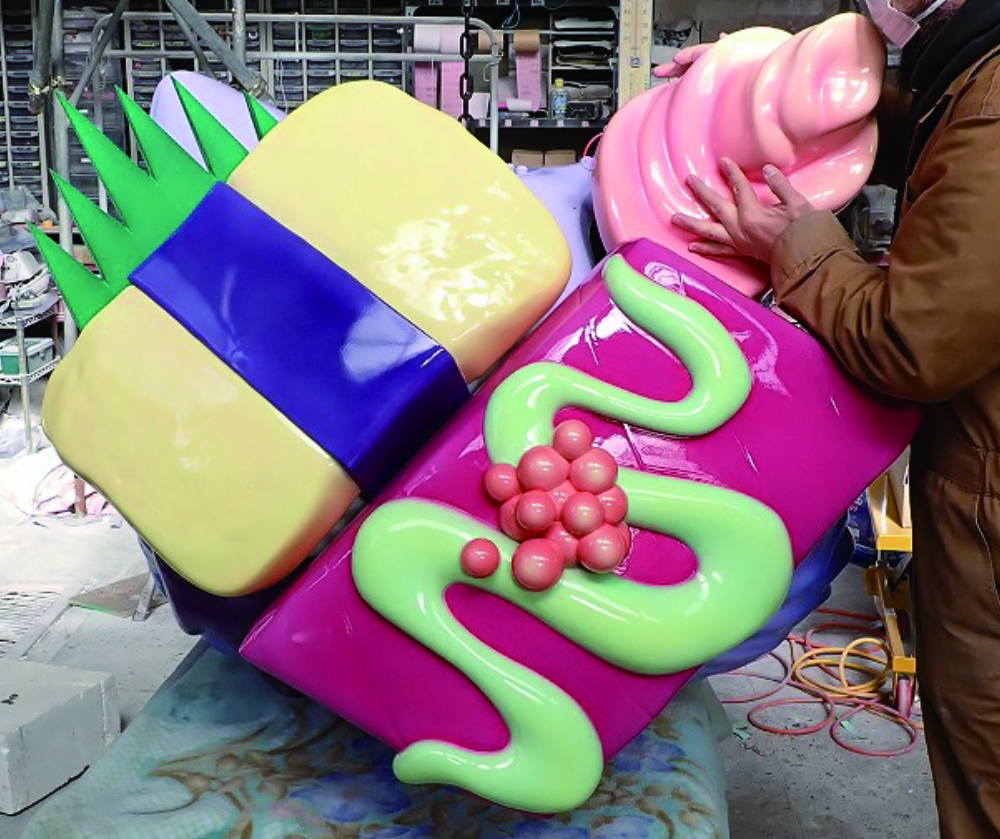
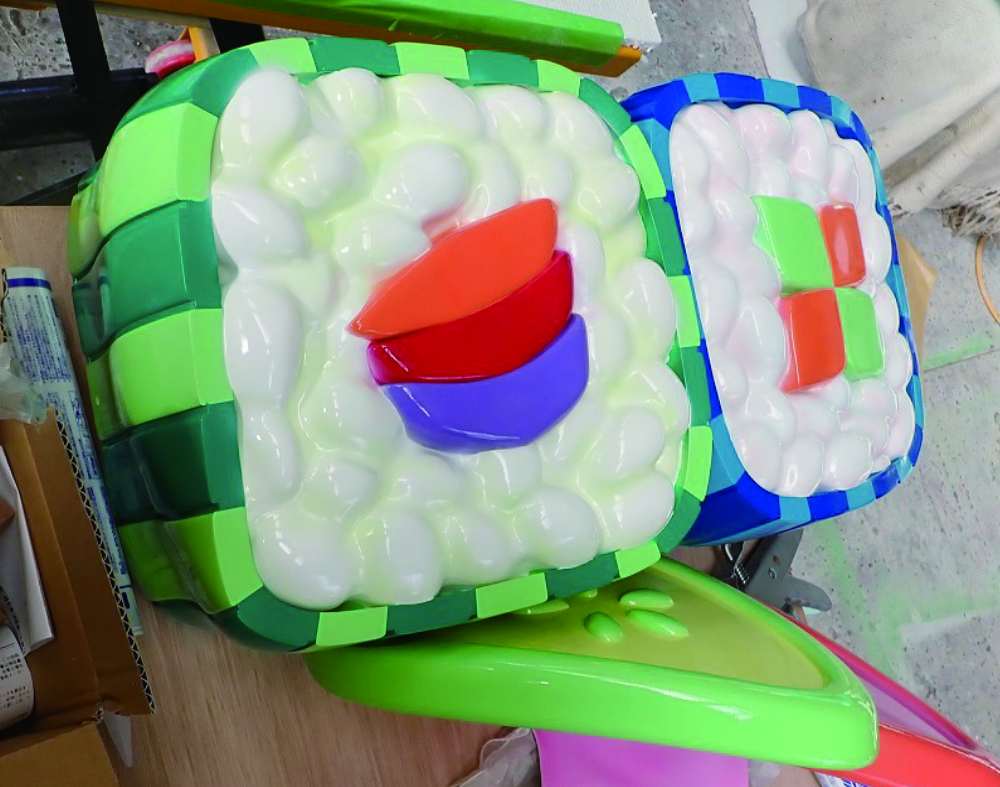
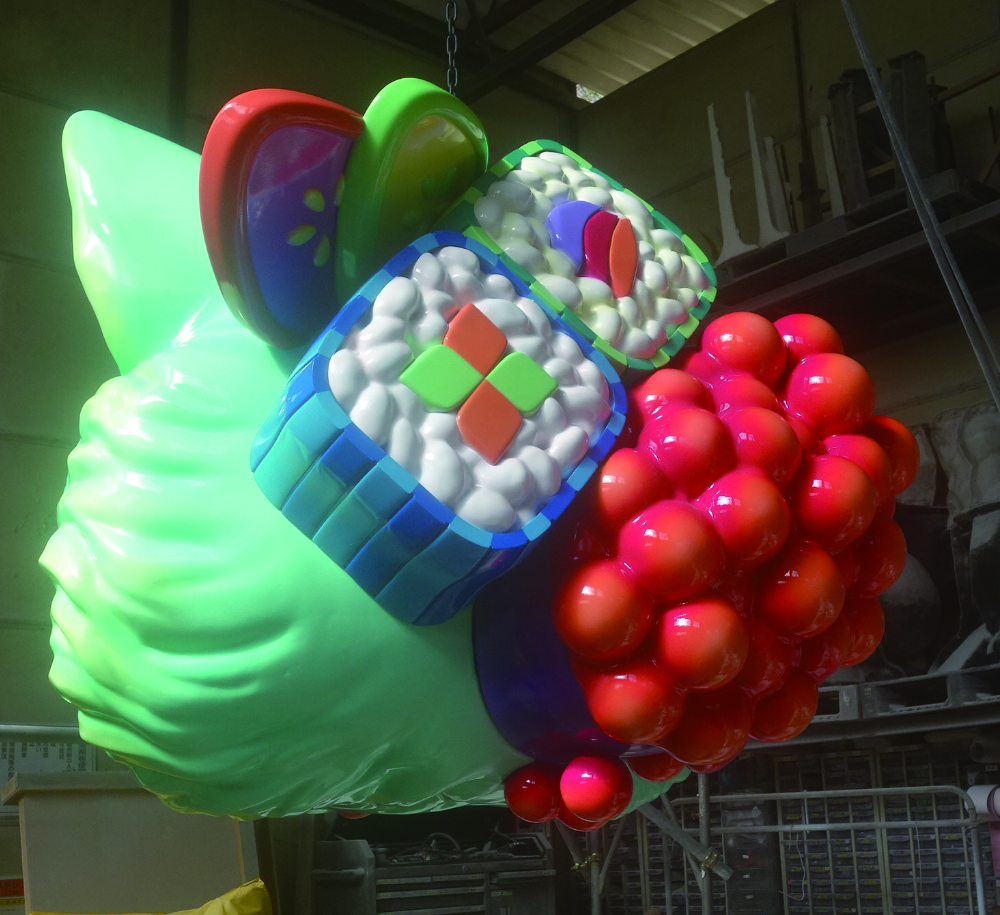
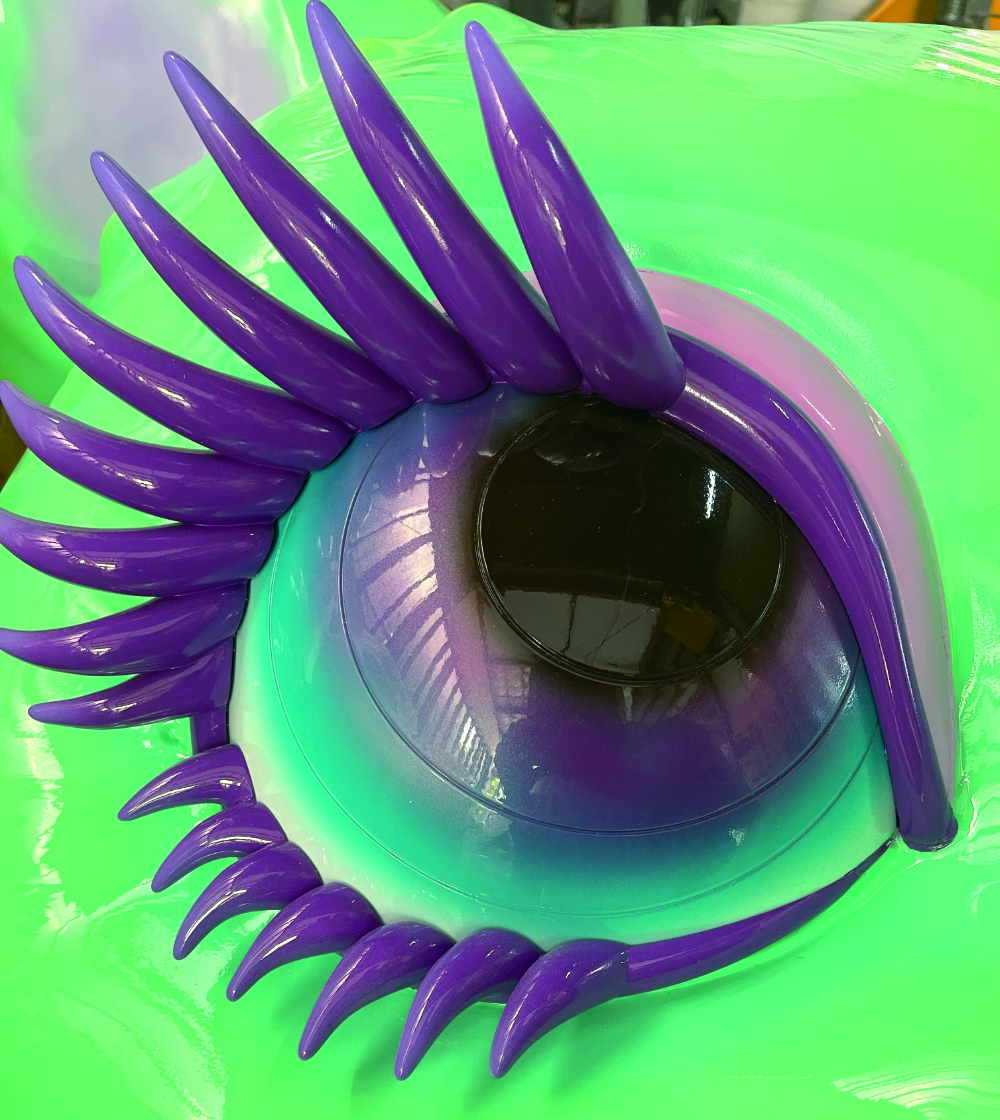
The three cats are designed to rotate slowly, and the back of each cat’s face is made up of sushi ingredients or lips, and we were first shown some of their bizarre designs. The overall color scheme was pastel, with green sauce on the tuna and sushi rice painted in blue and pink, which overturned our common sense.

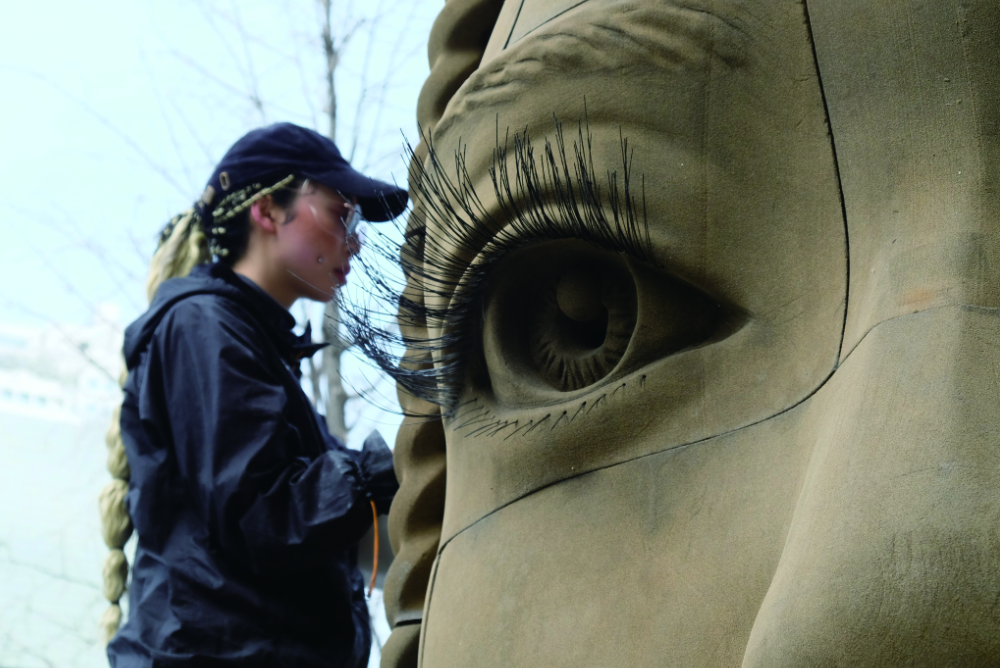
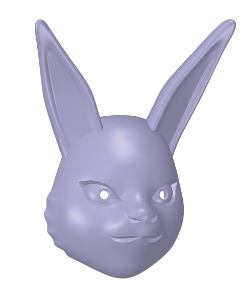
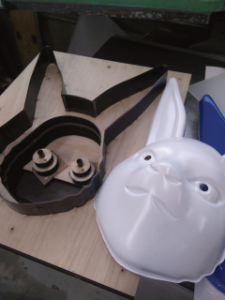
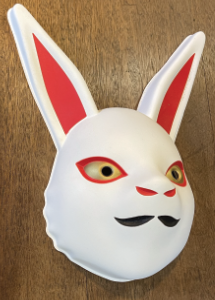
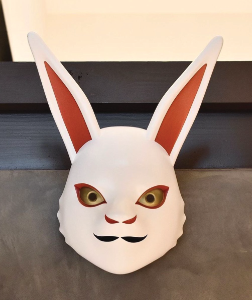
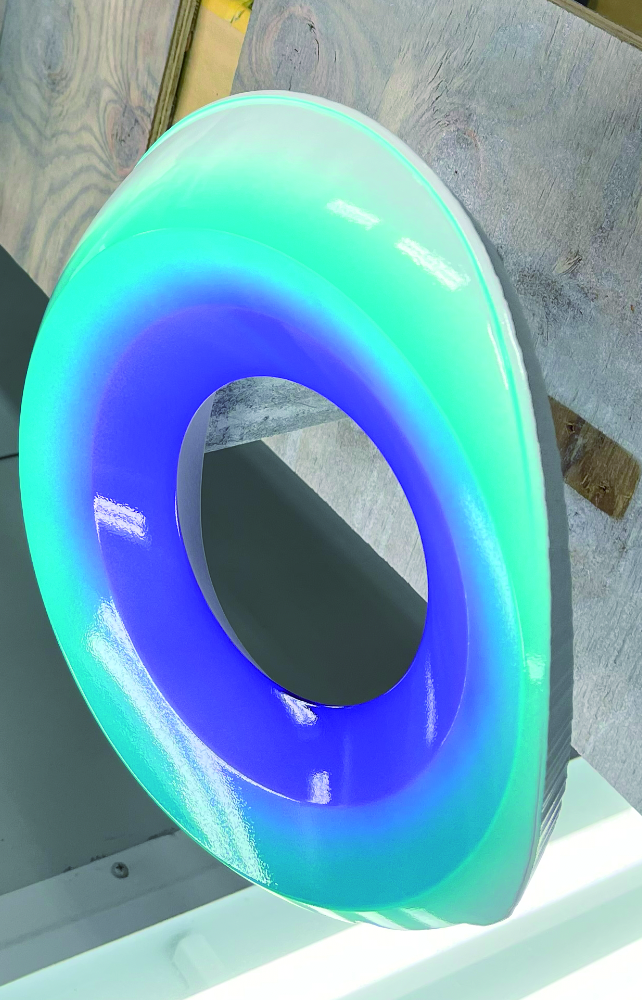
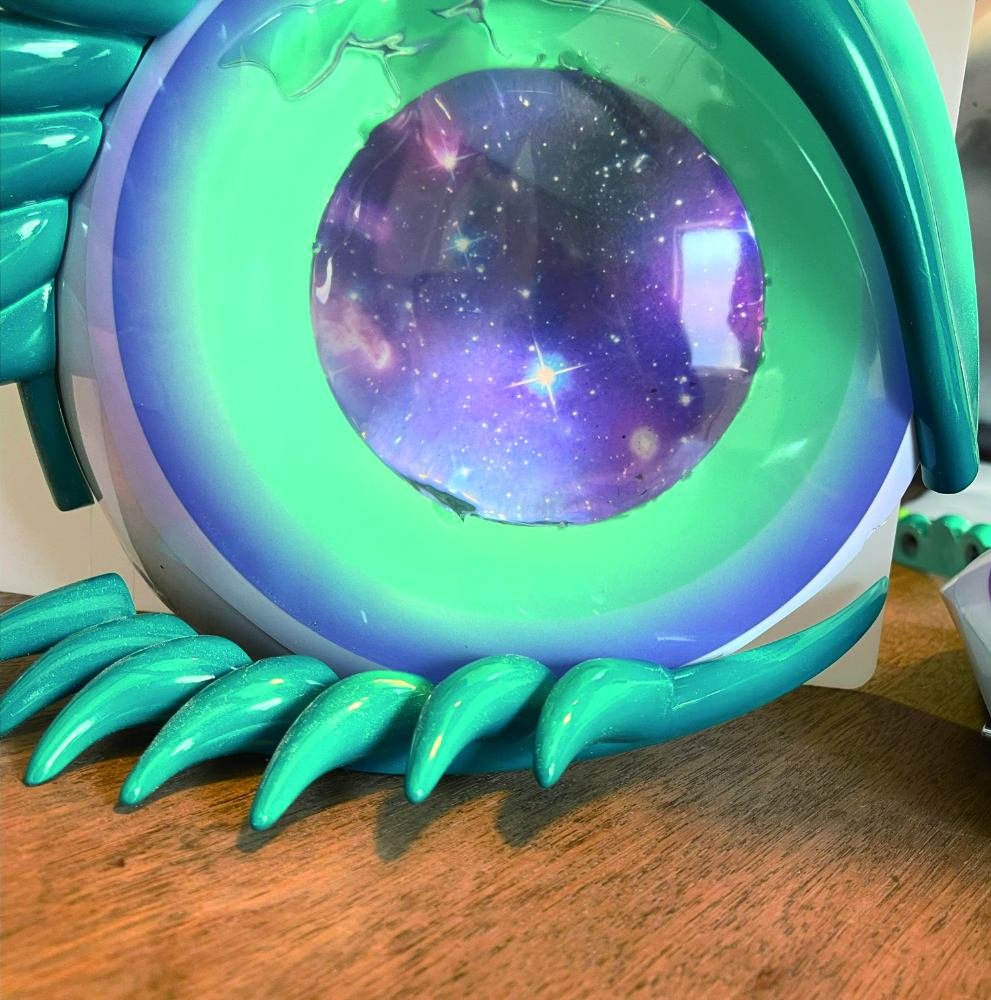
Mr. Sebastian, who travels between New York and Japan, came to our company in the mountains of Kyoto many times and we had detailed discussions with him. While listening to the story, we felt that this story is a commercial three-dimensional object, but it is a work that oozes out the artist’s personality, and we thought that in order to express it, we needed some ingenuity. We set the important point was the “cat’s eyes” drawn with a mysterious touch. Therefore, we created a sample of the pupil with a concave shape and poured epoxy resin into it, as well as a few samples of the eyes made using the normal method, and showed them to the artist for consideration. In the end, we chose an internal illumination method in which a film depicting the universe is placed behind the eyes and illuminated from within.

Eyes made by conventional manufacturing method
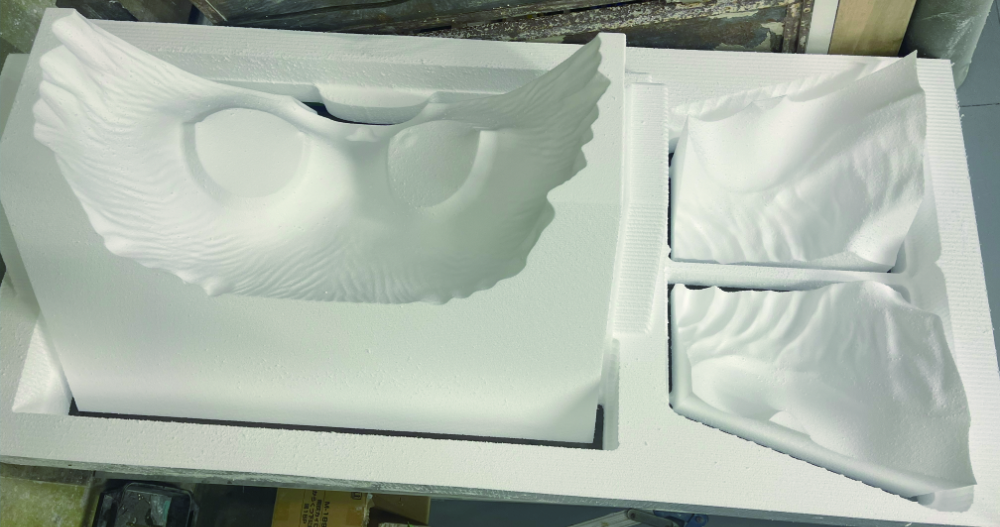
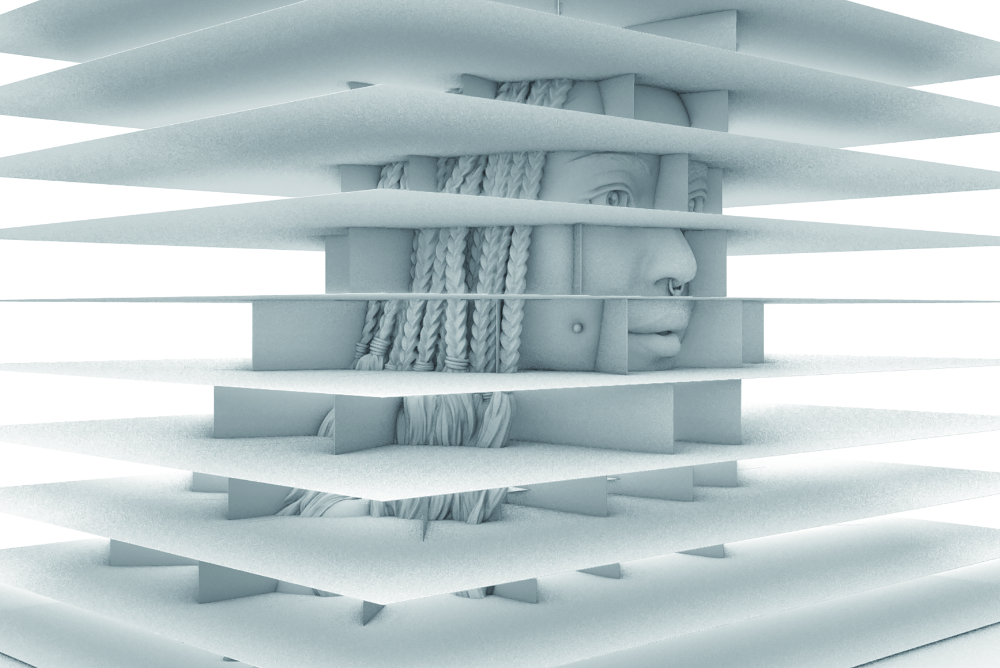
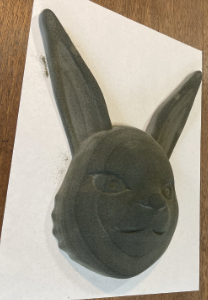
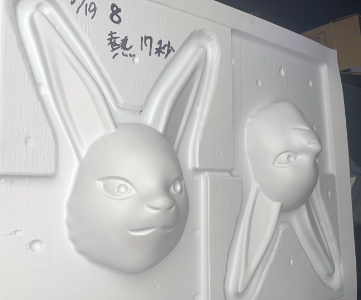
Transition of trial and error
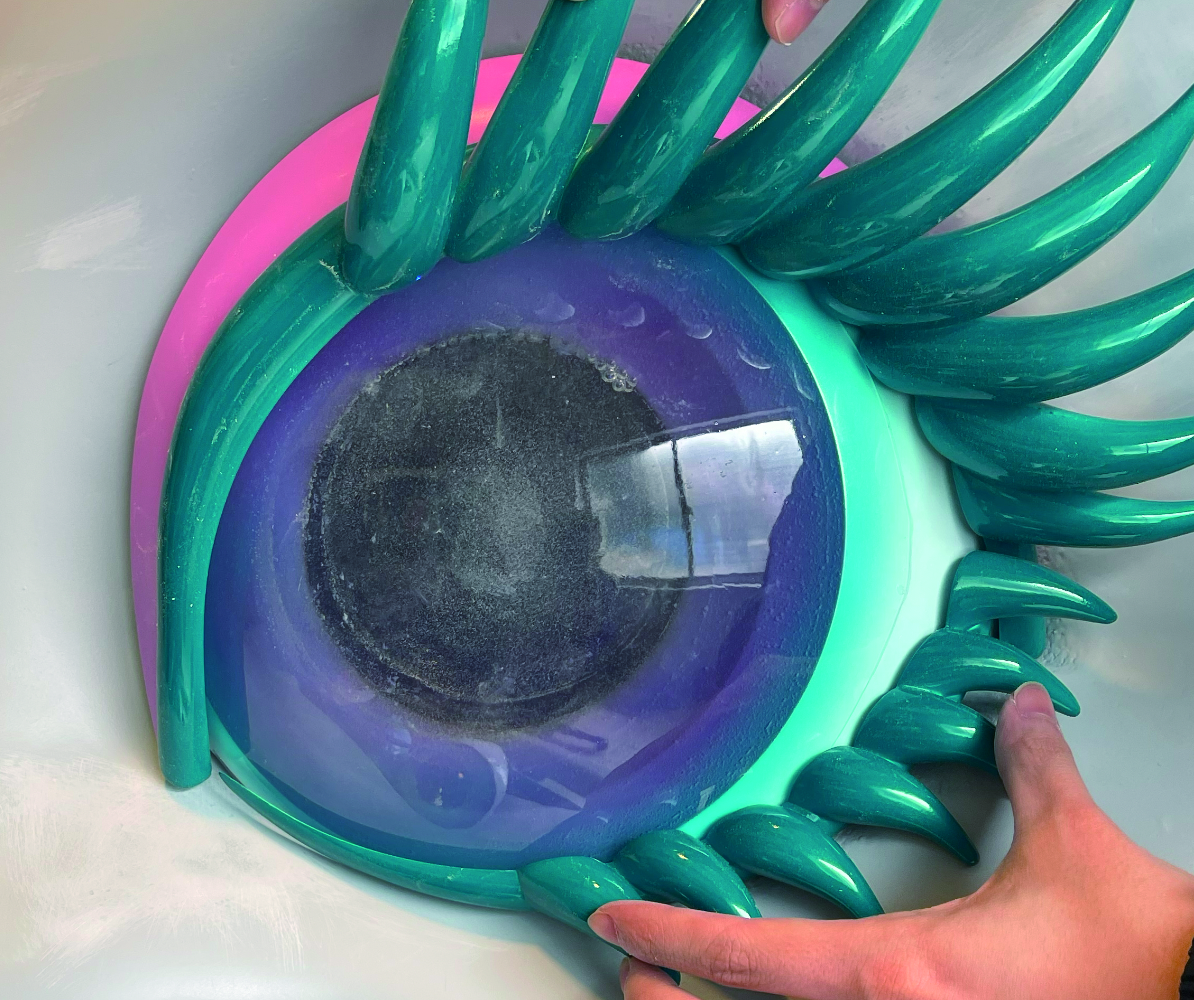
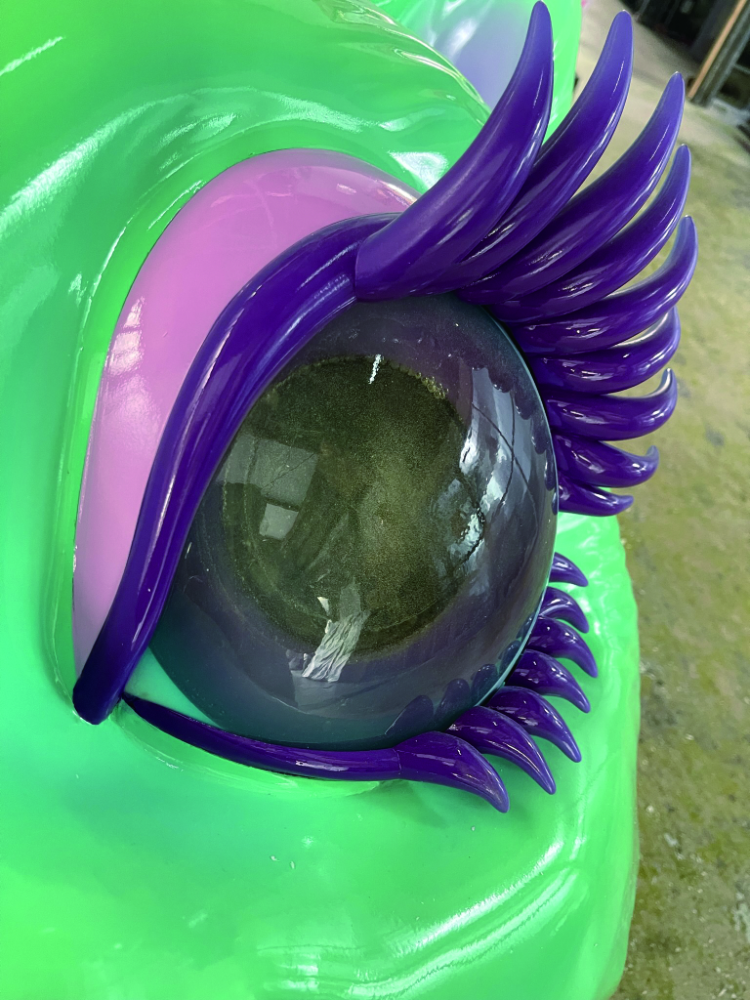
There were various problems, including the problem of air bubbles forming during molding and the hassle of having to cast the mold in two batches to prevent heat shrinkage.

The large lipstick, which is about 50 centimeters in height, needed to be made into a lighting fixture that could actually be hung from the ceiling, so we initially thought of creating one master prototype and making molds and FRP molding. However, consideration must be given to ease of maintenance, including replacement in the event of a malfunction of the internal lighting, how to fix the surrounding diamond decorations, the angle of entry for each color of the product, masking work when painting separately, and deformation of the final product due to temperature, etc. I redesigned the lip again. In the end, we decided to use transparent FRP for the tip, PVC pipe for the cylinder, and 3D printing for the ring. It’s hard to tell from the photo, but thanks to the paint I used for the first time (mirror paint from Origin Co., Ltd.), We were able to achieve a very high-class finish.

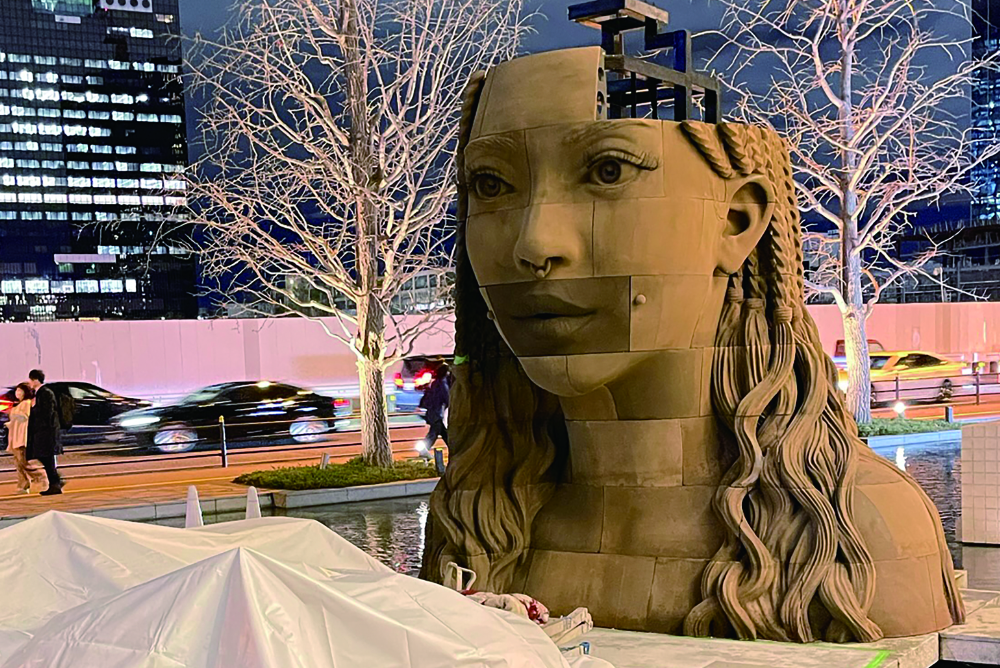
Although this project was a first for us, we were very happy to hear that there was a waiting list of 3,000 people for reservations at the store in New York.

REMA statue project

We produced a large statue of artist REMA using our own sand printer.

During repeated meetings with the artist about how to create a work with a height of 3.6m, we encountered various difficult problems, such as the load capacity limit of the installation location. The biggest problem was that the sand print was too thin and weak.

Usually, many sand molds are made by pressing and hardening them in a formwork, which maintains its shape until hot molten metal is poured into it, and when the poured metal cools and hardens, the sand mold is destroyed to remove the contents.
Because it is intended for this type of process, the sand mold itself is made to be breakable.

This work has not been painted, as per the artist’s wishes.This is because the resin used in the printing process is colorless and reverts to the original color of the sand, and the fact that This 0.2㎜ diameter sand sculpture may one day fall apart. And then what happening like that is also considered a part of this work.
I think that such a “transience” can be felt from this work.

usagicoffee

An express project from a customer who has been requested several times before.
Using a vacuum forming machine inherited from a company that is going out of business, I was asked to make an original mask.

  • A. 3D data production
    B. Sand print male mold
    C. Vacuum molding
    D. Thomson type mold
  • E. Painting
    F. Finished
    G. Resin printed product

The location is in front of Nijo Castle in Kyoto. For the opening of the first restaurant handled by the fashion brand “#FR2”, we were asked to create a Kyoto version of the main character. First of all, after creating a resin print product (image G) and getting permission from the client for the shape, For the time being, we discussed and considered how many we could make in the month before the opening. However, we did not know how to use the vacuum forming machine in question, and it was not possible to form evenly. At first, we tried to mold it using a sheet with the pattern of the mask printed on it, but we gave up early on. If I could do this, I think I would have been able to make a lot more cheaply. Also, around the same time that we received this project, we were conducting operational testing of a sand printer that had just been introduced in-house. Since the sandprint product is porous, I experimented to see if it could be used as a male prototype for vacuum molding, and was able to use it successfully. Discovering new uses for sand-printed products like this is a happy secondary by-product for us. In the end, the unit price per piece was surprisingly high due to the ultra-small production of 50 pieces. However, our products were able to play a role in creating an atmosphere at the time of the opening, such as the staff hanging the masks diagonally on their heads like they were at a festival.

https://www.instagram.com/_usagicoffee/

MOONKERY / THE MOON

We received a request to create a big, big, shining moon that would leave a lasting impression on our customers.
The installation location is wrapped in a mural like the inside of a spaceship. In addition to that, dismantling work was underway at the time of the request, and I was asked to make it the largest size that can be entered through the window on the second floor.
We had experienced in small size transparent FRP molding, but this size was just overwhelming.

At the beginning, we thought about adjusting the number of layers of glass fiber to express the mottled condition with the color like the actual moon, and from there we started making samples. After that, we gradually increased the size of the main body and repeated various trials and errors in painting and expressing craters.
The most difficult process was how to perform integral molding. The surface can be made clean by molding using an existing sphere mold, but when hemispheres are joined together, joint marks will inevitably appear. How do you overcome it? Also, how do you reflect the actual moon pattern on the surface? That was a big challenge for us.
The answer I came up with was a texture map of the moon published by NASA.
Then, it is printed and divided into a shape similar to that when cutting a watermelon, a balloon sphere with a moon pattern printed is made as a base model for balloon painting, and a transparent FRP is molded on the outer surface. Then, paint the surface so that it traces the pattern that can be seen through. Finally, we hypothesized that by pulling out the balloon from the hole for fixing the lighting at the top, it would be possible to express a pattern and mottled condition closer to the actual data, and made a small balloon for trial production.At the actual finishing stage, we recreated the data to make it better. As for the finish of the painting, I tried to make it as thin as possible and have no uneven painting by putting the lighting inside and putting it in a state where it is actually used.
At the final stage, we had our clients come to our company and make adjustments in front of them, and as a result, we were able to make our clients very satisfied.

https://www.moonkery.com

A Large Drone

We were involved in the development of a large drone with a total length of about 4 m (13.1 ft).
Normally, in our profession, we are required to “how to make it like a real thing”, but this time we were also required to have a real function.

We needed to make it as light and strong as possible. The ideal is an aircraft that can carry humans. The weight that can be lifted depends on the force that the four propellers can produce. Since the surface area is considerably reduced, there is concern about the effect on strength, but many holes are made in the body to reduce weight. Moreover, the thickness was 0.8 mm (0.031 in).
Even though there was no autoclave equipment, we came to mold using carbon fiber with EPS (Styrofoam) female mold.
The difficult problem of how to increase the strength by the hand lay-up method was solved by using CNF (cellulose nanofiber).August 5, 2019 At NEC’s facility in Abiko, we were able to make a safe test flight while watching over 200 spectators.

We also considered a transportation plan for exhibiting at subsequent exhibitions. The aircraft was tilted to an angle that did not protrude from the truck, and was suspended in the air so that it could be transported without being disassembled. We were able to contribute to shortening the work of setting up and removing the exhibition.
We learned a lot from this project, which was full of things for the first time, and we were able to have a very valuable and valuable experience.
We would like to continue to challenge new technologies in the future.

Shinjuku Station Subway Advertising

We made a total of 7 solids. It has a built-in LED to reproduce the red eyes that can be said to be the life of the characters in this series. If the LED went out, a large-scale open surgery was required, but the exhibition was successfully completed without being cut off during the exhibition period.

We needed an expression that seemed to come out from the pillar, so we decided to mold it from the back with a rubber material. In CG, I made small parts one by one, but in the end, more than half of the parts were buried in the modeling.
Before molding the prototype made by 3D printing with a silicon mold, there are many parts that were filled with clay in consideration of molding.
With the skill of craftsmen in actual production like this, we make up for the parts that we couldn’t do with CG, the parts that we couldn’t think of, and the parts that we couldn’t see. The product immediately after being molded with colored rubber also had a unique transparency and felt very cool.
This is the moment when we were able to re-recognize the power of the material. From now on, We would like to make an effort to make products that can feel the power of the material without covering it with paint.